Here are a few quick trouble shooting steps if your Wyndscent 2.0 unit doesn’t seem to be working as it should.
Battery
First, make sure you put the battery in with the positive side in first. The positive side is the side with the black ring. Before using the unit, make sure you give the unit a good charge. It can take some time for the high powered vape battery to get fully charged. Once you have it charged up, you are all ready to use it in the field.
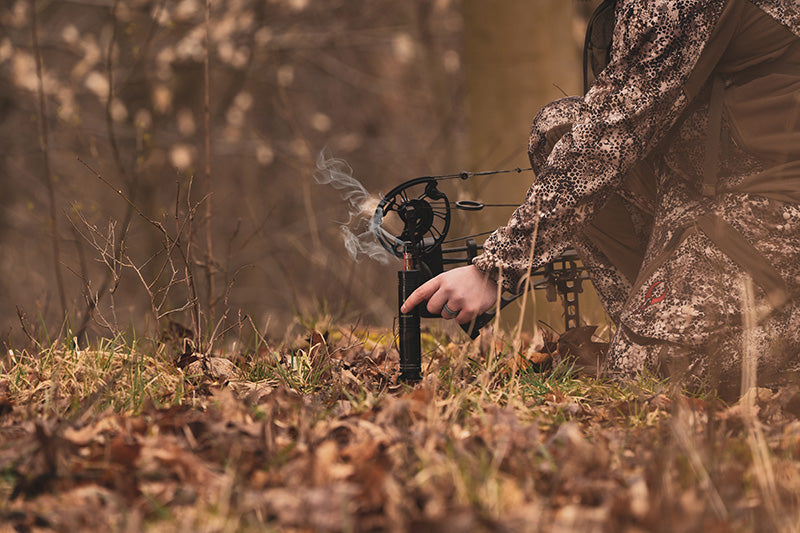
Vaporizing Scent
To start vaporizing scent, screw the scent cartridges down onto the unit. Make sure not to screw them down too tight. Just finger tight is fine. Turn the unit on by holding the power button down for 5 seconds. The lights on the unit should turn on. You should be able to manually fire the unit by tapping the power button. If your unit does not appear to be vaping, take the scent cartridge out of the unit. Then pull down on the copper connector on the bottom of the scent cartridge. You’ll want to pull it down till it is flush with the bottom of the scent cartridge. Screw the scent cartridge back onto the unit and you should be good to go. Pulling down on the copper connector gives the cartridge a better connection to the unit and usually fixes any issues with your unit not vaping.
Remote
If your remote isn’t working, there is an easy way to fix that problem. Take the battery out of the remote and reinstall it. That gives the remote a hard reset, and usually fixes any issues with your remote.
Screwing on Scent Cartridges
When you screw a scent cartridge onto your unit, make sure to grab both the top section and the glass section. You don’t want to grab just the top cap when you put the cartridge on or take it off your unit. The cap is threaded on the cartridge and it is best to grab both the glass and cap to avoid any issues.
If you have any questions or have any issues, please email us at info@wyndscent.com. Good luck in the woods this season!